鄂州市网站建设_网站建设公司_Ruby_seo优化
Connect 2016 有一堆好玩的东西,微软正在努力地转型,从Windows First到Cloud First 。Cloud First的缘故也推动了微软产品的跨平台,你可以看到Microsoft Office / Visual Studio Code / Visual Studio / PowerShell 都陆续登上了Linux/Mac 。 或者最令人期待的可能是MS SQL 了,估计去年宣布会有Linux版本后很多用户(包括我自己了)都希望第一时间玩玩。今年Connect,终于可以第一时间尝试下了。
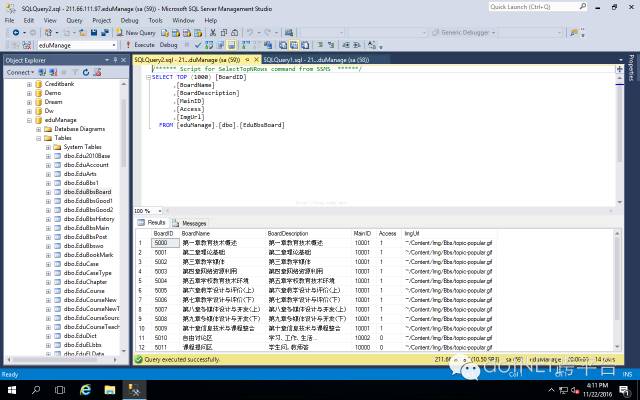
SQL Server on Linux 现在兼容一些主流的Linux平台,如RedHat/Ubuntu/Suse等,你也可以通过Docker在macOS上玩。你可以参考https://www.microsoft.com/en-us/sql-server/sql-server-vnext-including-Linux#resources 。本文当然是说说如何管理。传统的SQL Server 管理,是通过SQL Server Management 去完成。
而在其他平台也有对应的管理工具,如RazorSQL就是一个很不错的跨平台多数据库管理工具。

这种传统的管理工具可以提升生产效率,但有时候显得过于重。个人喜欢一些比较轻巧的工具,这是我为什么喜欢Visual Studio Code的原因,这次Visual Studio Code 也增加了对MSSQL 的管理。你可以通过MSSQL插件完成SQL Server 或者 SQL on Azure的数据管理。
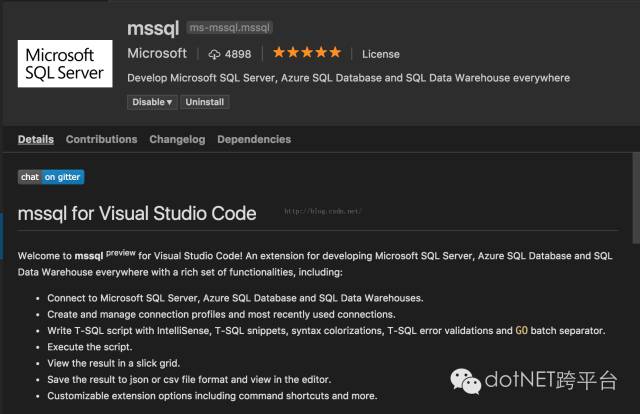
通过Visual Studio Code 的插件描述你可以看到这个插件支持基本的数据操作,估计和Management比还是有很大差距,但是对于对数据库做一些简单操作也是很好的。
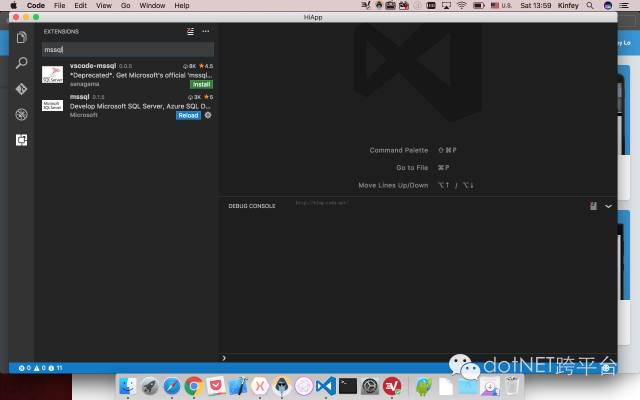
安装插件很简单只需要插件中搜索mssql即可。
安装完后重新打开会配置一个Sql Tools Service(这个插件在国内安装有时候会很慢,估计和墙有关系)
配置好后你就可以直接使用了。
1. 把plainText 转换为SQL

2. Ctrl+Shift+P/ Cmd+Shift+P 输入SQL
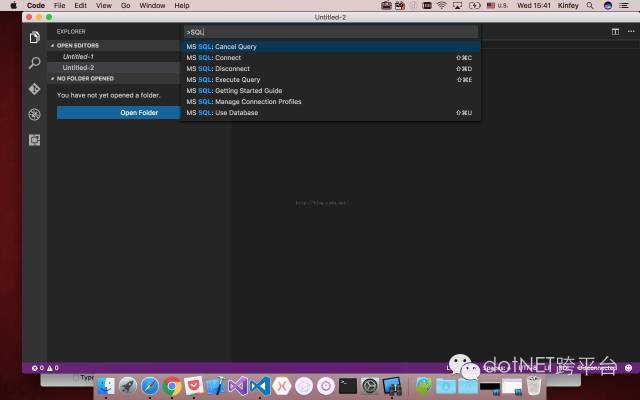
3. 配置数据库链接Connect 从上图列表中选择MS SQL : Connect 尝试连接你的数据库,这里需要配置你的IP/UserName/Password等。如果连接成功,你就可以在VS Code上做SQL的简单操作了。
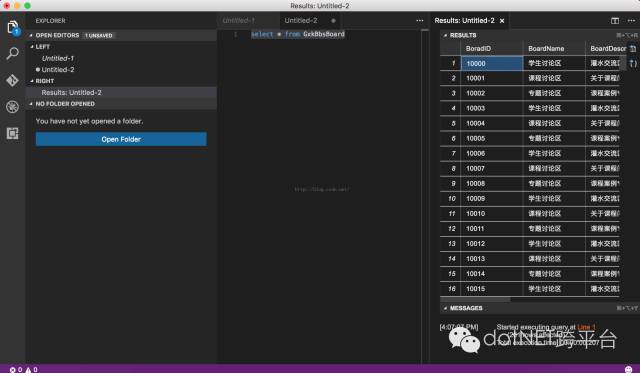
虽然这个操作是相对简单,或者对于DBA来说有点low,但是对于只需要创建和操作一些数据的时候也是很不错的。不过我更看中的是这对Visual Studio Code 插件的来说是一个不错的案例。真希望微软能开源这个插件。
哥喜欢简单直接的东西,写SQL 脚本对于一个Geek是很赏心悦目的事情。希望接下来功能有更多的支持和兼容了。
原文地址:http://blog.csdn.net/kinfey/article/details/53246754
.NET社区新闻,深度好文,微信中搜索dotNET跨平台或扫描二维码关注