克孜勒苏柯尔克孜自治州网站建设_网站建设公司_React_seo优化
本.4论文结构
绪论:剖析项目可行性,表明研究方向。
开发技术:系统关键运用了Python技术性、Django框架、B/S架构和myspl数据库查询,并进行了详细介绍[6]。
系统分析:包含系统的总体构造,用例图和结构图。
系统设计:软件程序功能模块和数据库查询的总体设计。
系统总体设计:叙述系统的作用,
测试系统。
在文章的最终,我个人总结了自身在系统开发和论文撰写全过程中的汇总、感想,包括致谢[7]。
本课题使用Python语言进行开发。基于web,代码层面的操作主要在PyCharm中进行,将系统所使用到的表以及数据存储到MySQL数据库中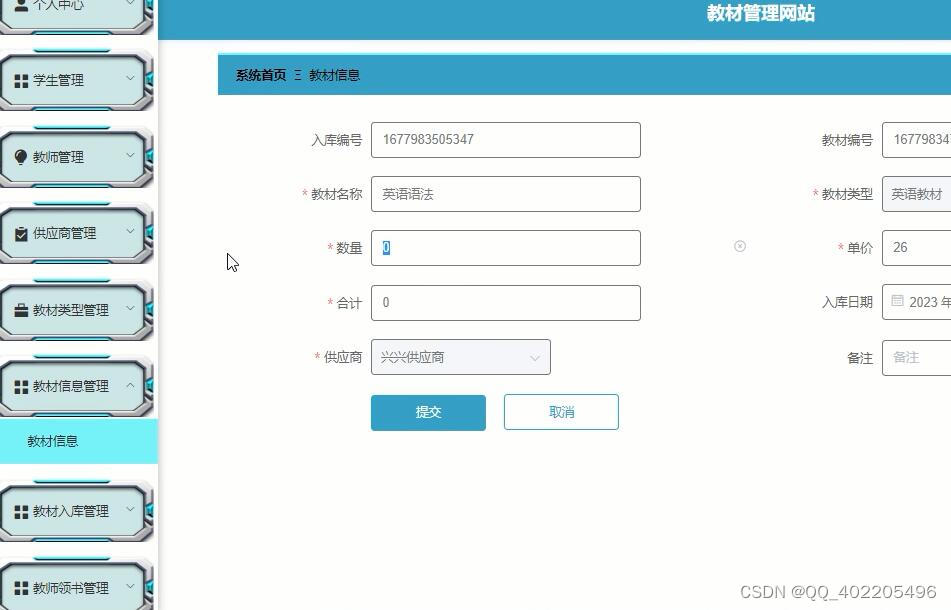
技术栈
后端:python
前端:vue.js+elementui
框架:django/flask
Python版本:python3.7+
数据库:mysql5.7
数据库工具:Navicat
开发软件:PyCharm .
文首先实现了教材管理网站技术的发展随后依照传统的软件开发流程,最先为系统挑选适用的言语和软件开发平台,依据需求分析开展控制模块制做和数据库查询构造设计,随后依据系统整体功能模块的设计,制作系统的功能模块图、E-R图。随后,设计框架,依据设计的框架撰写编码,完成系统的每个功能模块。最终,对基本系统开展了检测,包含软件性能测试、单元测试和性能指标。测试结果表明,该系统能够实现所需的功能,运行状况尚可并无明显缺点。
关键字:教材管理网站;
本教材管理网站是为了提高用户查阅信息的效率和管理人员管理信息的工作效率,可以快速存储大量数据,还有信息检索功能,这大大的满足了学生、教师和管理员这三者的需求。操作简单易懂,合理分析各个模块的功能,尽可能优化界面,让学生、教师和管理员能使用环境更好的系统[13]。
对比要实现的功能来分析出用户的需求,可以让管理员在线对其进行添加、修改、查看、删除,这不仅提高管理员的工作效率,也满足了用户的需求,还大大的节省了时间。
目 录
摘 要 I
Abstract II
1 绪 论 1
1.1选题意义 1
1.2研究目标 1
1.3系统总概 2
1.4论文结构 2
2 开发技术介绍 3
2.1 MySQL数据库介绍 3
2.2 PyCharm开发环境 4
2.3 Python语言 4
2.4 Django框架 4
2.5 B/S架构 5
3 系统分析 6
3.1可行性分析 6
3.1.1 技术可行性 6
3.1.2 操作可行性 6
3.1.3 经济可行性 7
3.1.4 法律可行性 7
3.2系统需求分析 7
3.3其他系统需求分析 7
3.3.1性能要求 8
3.3.2安全要求 9
3.4系统结构和流程设计 9
4系统设计 10
4.1系统基本结构设计 10
4.2 数据库设计 10
4.2.1 数据库实体 10
4.2.2 物理模型设计 11
5系统详细设计 18
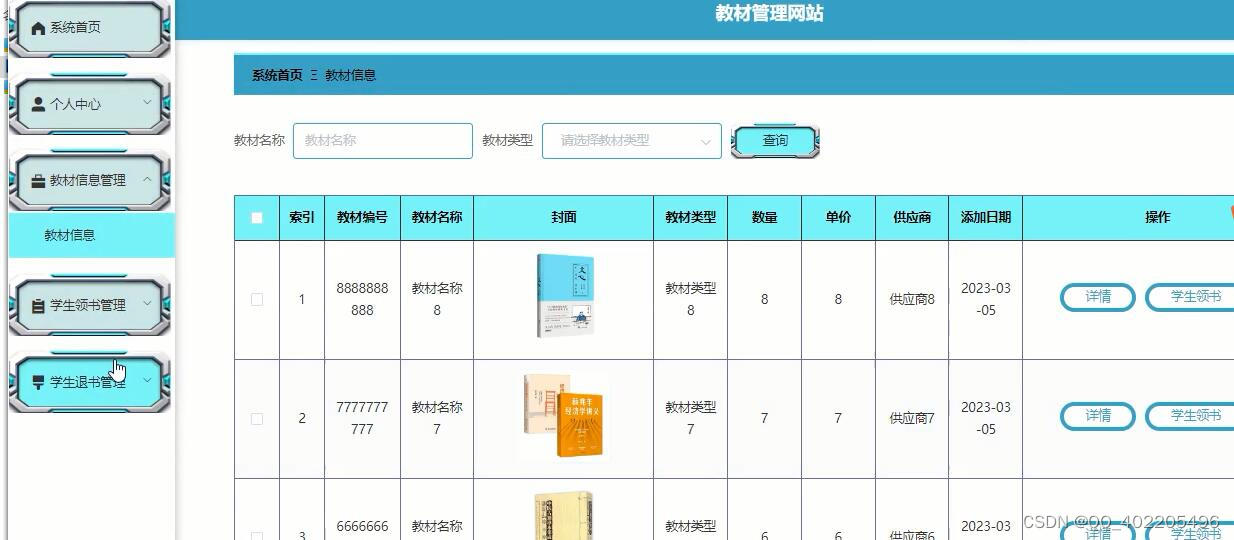
5.1 管理员功能模块 18
5.2 学生功能模块 18
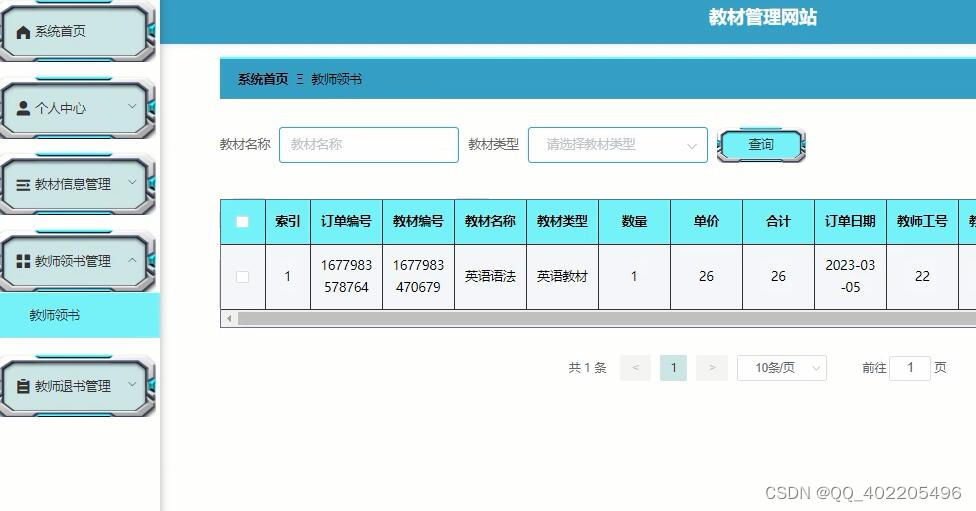
5.3 教师功能模块 18
6系统测试 21
6.1 软件测试简介 21
结 论 23
参考文献 24
致 谢 26